taking screenshots of props
I just started importing my meshes from maya into UDK and wanted to have images of them in realtime. These meshes are only props, not full environments or levels. I would like to create a custom background in Photoshop to place my screenshots on and put em on my portfolio site. so far I’ve taken screengrabs of my props from the mesh editor in UDK. Not sure if this is an acceptable way of going about this for a portfolio. Right now my portfolio only contains renders from Max/Maya.
I read over a previous UDK post about rendering for a portfolio but it looks like it pertains more to full ingame levels/environments.
Your suggestions are appreciated. Thanks
Replies
sprunghunt polycounter
You can still put your props in a small level. It’d probably look better than the static mesh editor as you’ll be able to make sure they’re lit nicely.
do you just use print screen to capture the viewport image or is there a save image feature somewhere that I haven’t seen in Unreal?
Also, Isn’t Maya’s High Quality Rendering mode real time?
haiddasalami polycounter lvl 14
do you just use print screen to capture the viewport image or is there a save image feature somewhere that I haven’t seen in Unreal?
Also, Isn’t Maya’s High Quality Rendering mode real time?
if there’s no fancy screen effects going on you can use tileshot.

BradleyWascher polycounter lvl 13
A little trick, place your prop inside a sphere that is 100% emissive «like bold red» then tileshot to get a screenshot, take it in Photoshop magic wand the red and bam, good to go.
tristamus polycounter lvl 9
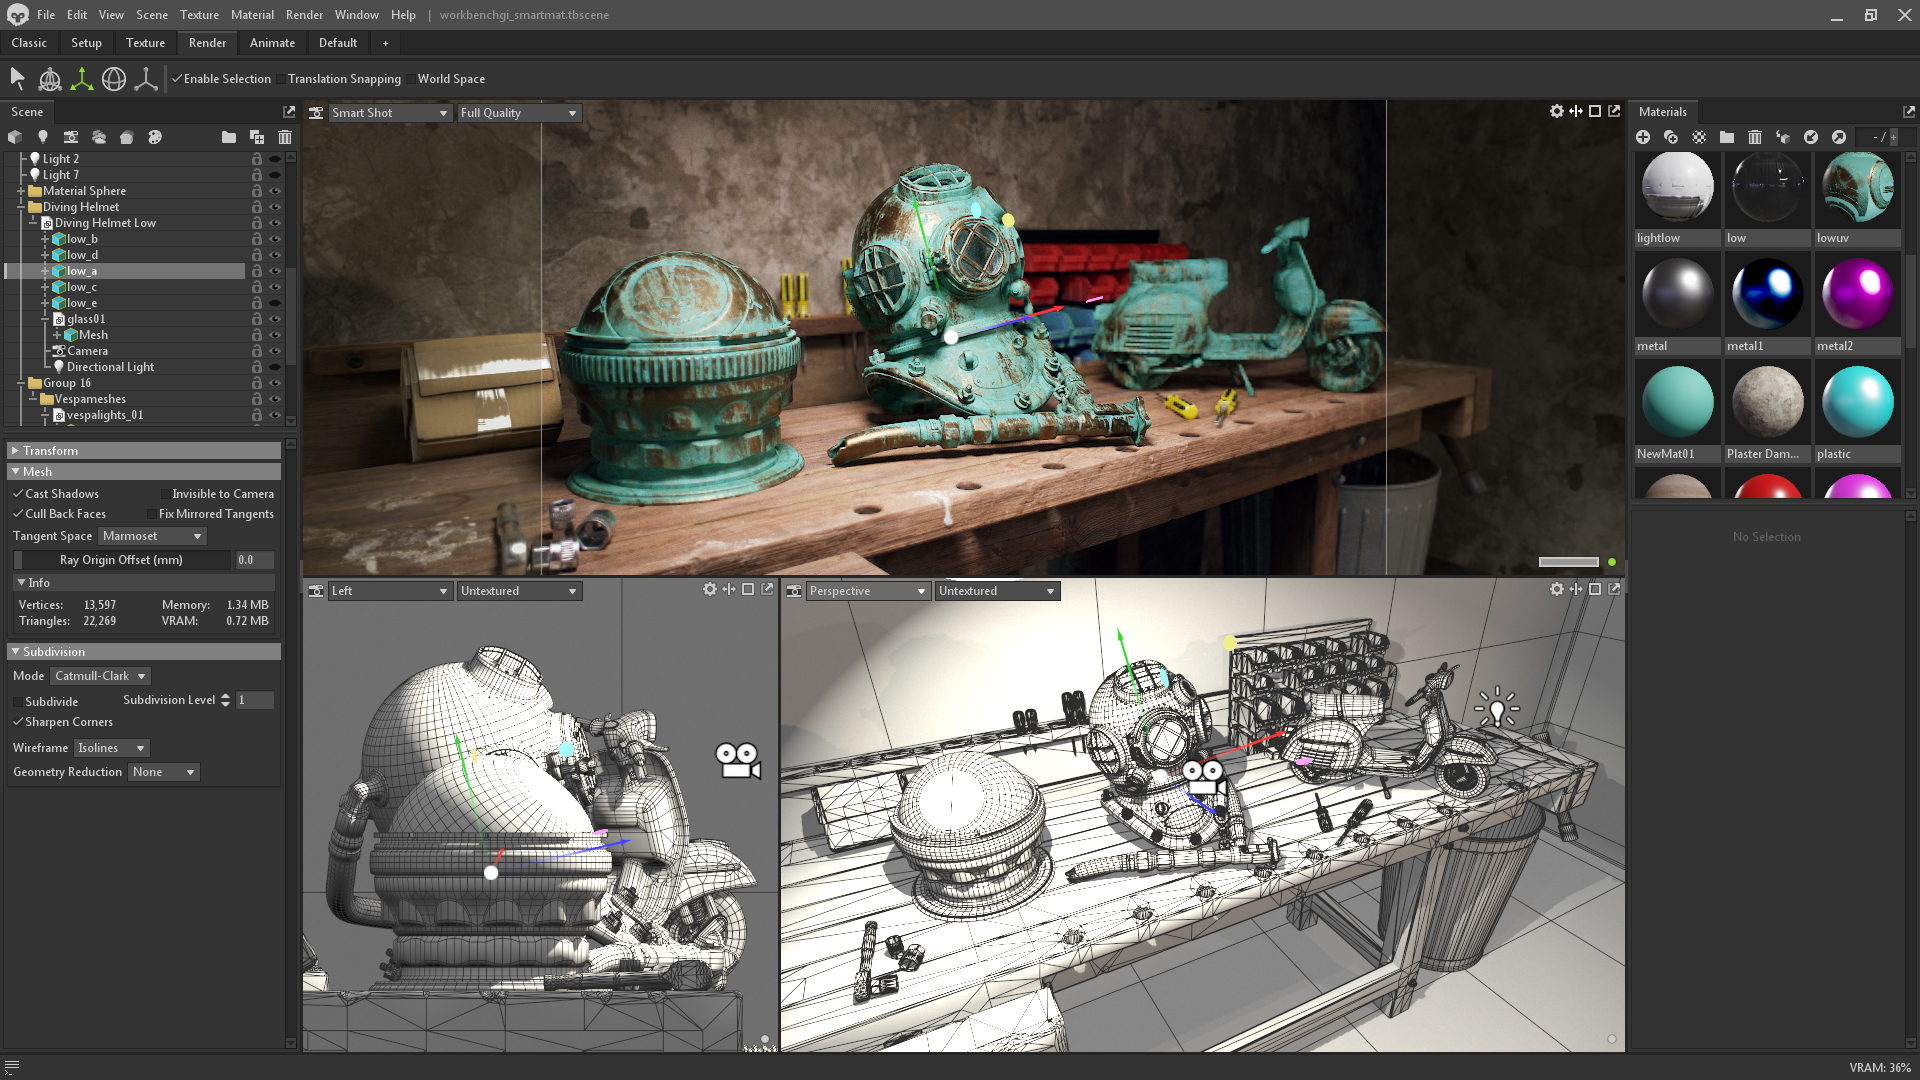
Why not just use Marmoset Toolbag.
When you take screenshots with marmoset, it saves them into a TGA that contains an alpha channel that you can use to mask out the object and place wherever you want with photoshop.
Shogun3d polycounter lvl 12
Why not just use Marmoset Toolbag.
When you take screenshots with marmoset, it saves them into a TGA that contains an alpha channel that you can use to mask out the object and place wherever you want with photoshop.
That is a nice thing about Marmoset, but it could never hurt to display your knowledge of shader creation and such through Unreal.
tristamus polycounter lvl 9
That is a nice thing about Marmoset, but it could never hurt to display your knowledge of shader creation and such through Unreal.
Marmoset Toolbag 4: Game-Changing Features for Your 3D Workflow


Francesco is a 3D artist with more than 15 years of experience in 3D Computer Graphics. Specialized in 3D Modeling and Texturing / Lighting, Francesco is currently working for a company dealing with modeling, texturing, lighting and rendering. He also contributes to various films by providing 3D characters, environments and props. Find him on LinkedIn at https://www.linkedin.com/in/francesco-furneri-25541740/.
This latest version of Marmoset changes the game for 3D artists with a new workflow and functionalities. Let’s take an in-depth look.
Before the advent of Toolbag 4, Marmoset was quite a different tool. I can remember starting with the version 2, where the software worked as an easy viewer for 3D models.
Users could set the lighting, apply materials, import texture sets, apply post effects, and work with a limited set of HDRI maps.
However, the tool could have been improved a lot in terms of functionality.
With the appearance of Toolbag 3, the developers decided to boost the quality of the software by adding new features like:
- The animation system—useful for characters, objects, and short animated sequences
- The texture baking system—which allows transferring of details from high poly to low poly models in real-time
- The global illumination system—which approximates the global lighting of the scene
If the previous points had a major impact on the tool, let’s take a look at the game-changing updates we now have in version 4, which have become invaluable for 3D artists!

What’s New in Toolbag 4
The passage from version 3 to 4 has made Toolbag an extremely powerful software to integrate into your pipeline.
In fact, in addition to the many outstanding improvements, it’s now a texturing tool.
Artists can complete almost all of their tasks inside of Toolbag 4 and use the power of real-time rendering to showcase their models.

Furthermore, the introduction of real-time Ray Tracing is certainly the cherry on top! If global illumination—introduced in version 3—was already a nice add, this new feature opens the world to realistic and physically-based renders.
The new Ray Tracing engine is optimized to run on all GPUs and the algorithm is even quicker on NVIDIA RTX Series GPUs.
What does that mean in terms of rendering?
- Multiple light bounces to trace for indirect specular and diffuse rays, which means higher accuracy.
- Multiple transmission light bounces for transmissive objects, which gives accurate refraction and the possibility to manage materials like glass and liquids with ease.
- The introduction of caustic paths to manage the concentration of light rays reflected or refracted by a surface.
And . . . many other features like noise reduction in real-time, which is powerful to refine your render with the use of CPU or GPU.

Another wonderful addition to Toolbag 4 is certainly the presence of a huge library of HDRI maps.
Quick note: The software provides us with 191 maps to use for the ambient light. With this built-in library, you have tons of environments to experiment with!

Exploring the Texturing Tool
When you open the library in Toolbag (Window -> Library), under Scenes, there’s a file called Texture Project. I invite you to start from there to learn how to texture your 3D models.
For the purpose of this article, I’ll be using Toolbag v. 4.03, and show you the main features.
The file presents itself as a generic object that comes with the tool.

Main Features Offered by the Texturing Tool
The aforementioned file has already a texture project set up with the baked maps (normals, curvature, ambient occlusion, material ID), and a linked material (called lowuv) with basic parameters.
Also worth mentioning is the Layer System, which you can activate from the Window menu.
It consists of two parts: Layers and Layer Settings. The former keeps the list of the layers used with the different blending modes, while the latter exposes a series of parameters for the current selected layer.


You can then pile layers up and build complex materials. In the previous example, the Fill Layer creates a uniform green color with a basic roughness level.
Apart from uniform colors, let’s see what makes the texturing tool so powerful:

- The use of different brushes, which allows users to paint directly on the model (dust, grunge, mold are examples of strokes you can utilize).
- An amazing set of pre-made materials ready to be applied, which already contains all the needed channels (base color, normal metalness, etc.).
- Smart masks used when you layer different materials. If you want to put some dust over a plastic surface, the Dust Smart Mask, for instance, uses our curvature and ambient occlusion info to know what to hide or not, based on the previous baked maps (hence the term “smart”). This saves a lot of time while masking areas on a surface.
- Smart materials are essentially structured materials grouped under a folder. They expose all the used layers, masks, filters, and procedural maps so that users can vary the content and offer much more control than simple materials.
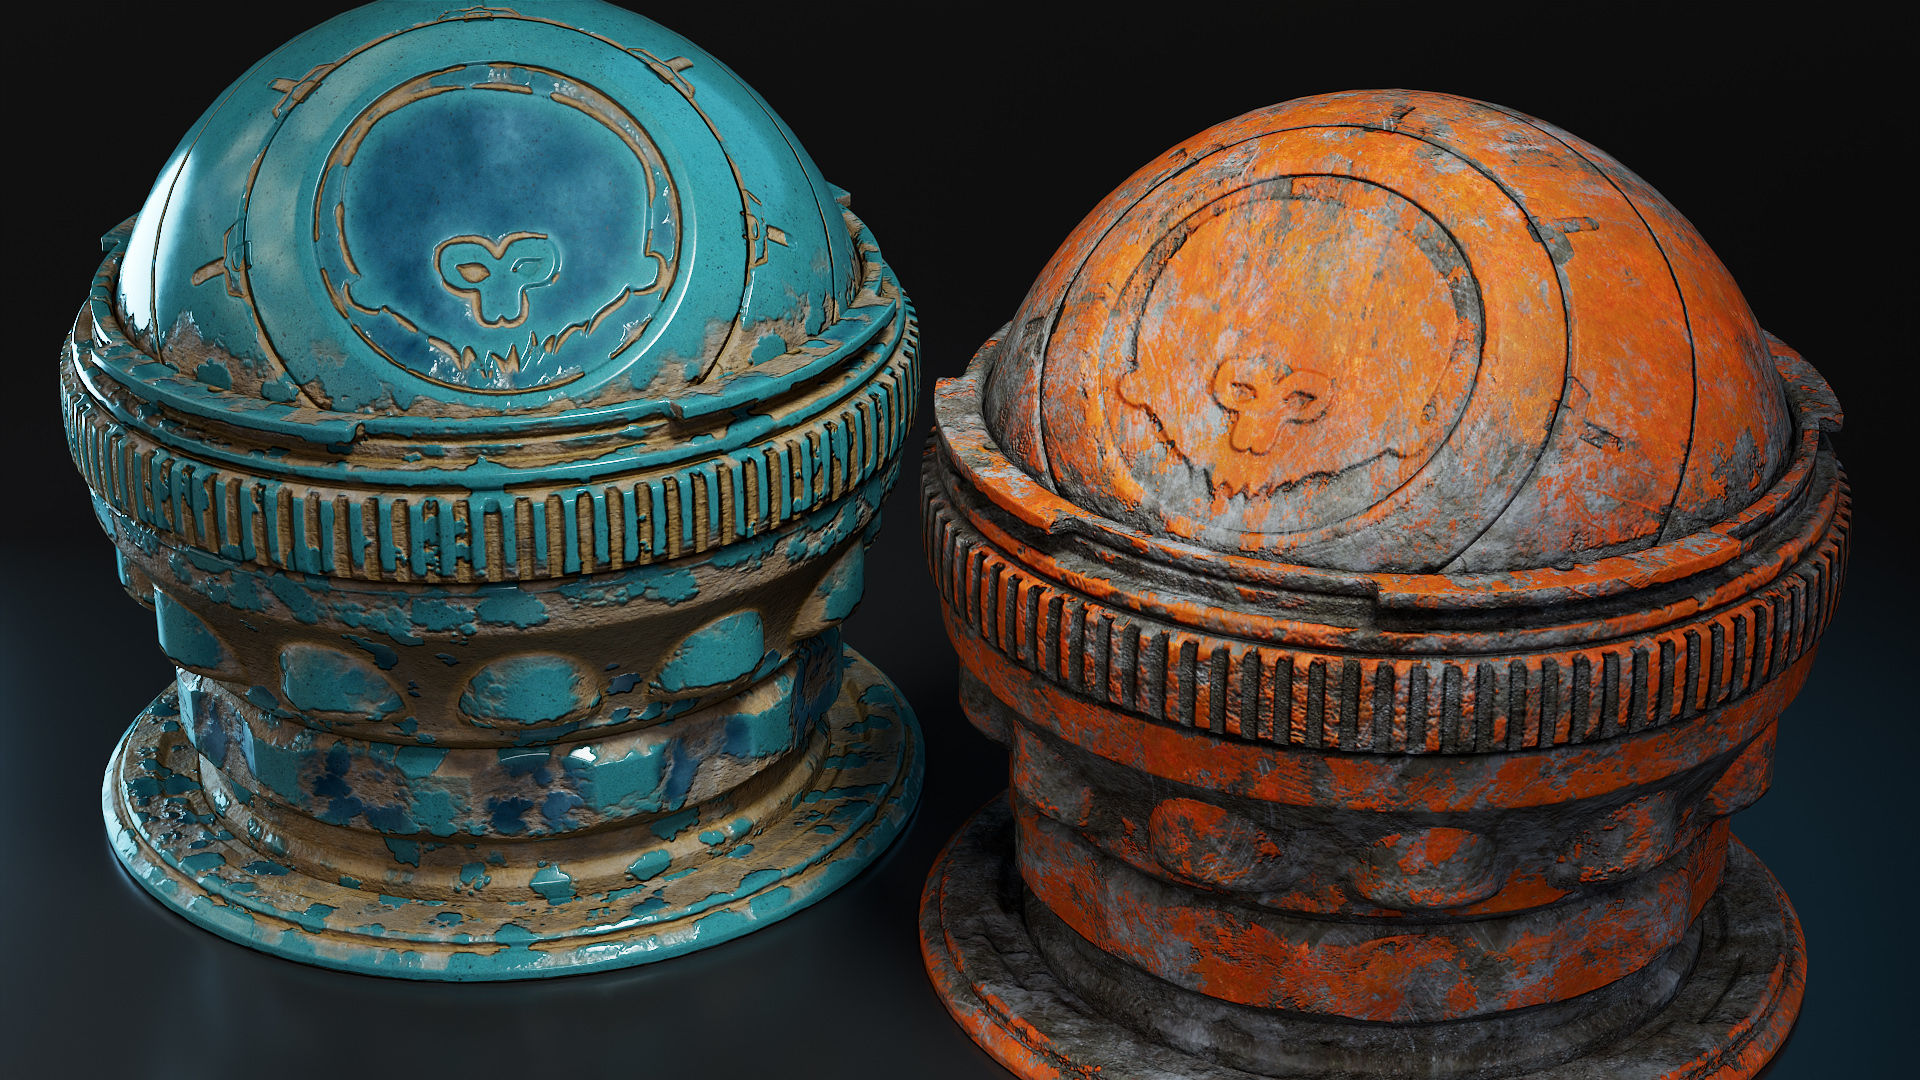
This is an example of material you can render in Toolbag 4 with a lighting setup, the proper PBR maps applied, and some depth of field.

Digging into Layers
Let’s look at a quick and easy example of what you can do with layers in Toolbag 4. From the previous render, where we customized our stone object, we’ll want to detail the upper part.
Let’s see the final result and the series of layers used.
Despite the fact that we have different layers, we just want to focus on the mask part, for the purpose of introducing other features in Toolbag 4. The layer called Curvature and Pattern builds a mask and reveals its brown color in particular areas.
Layers are meant to be read from bottom-up and the four inner layers contribute to the final mask.
The Curvature Layer is a processor that’s an effect generator controlled by some parameters. It performs a masking by considering the baked curvature map—recessed areas or edges are not masked.
The Blur Layer performs a blurring on the level underneath in order to have a softer effect.
The Occlusion Layer is another processor that refines the mask by using the baked occlusion map.
Finally, the Cellular Layer is known as procedural. Together with other procedurals like Perlin or Cloud Noise, this layer adds a pattern on top of the logo by adjusting some parameters.
This is the result, step by step, of the masking process. Note that Granite and Brown Circle are layers with simple material from the Toolbag library.

Exporting the Textures
Once you’re done with your texturing, you’re ready to export your maps and use them in external software like Maya or Unreal Engine, to name a few.
Once you’ve selected your texture project, the export settings appear. The export is as easy as pie—you add the maps you want to save (e.g. base color, normal, roughness, metalness, etc.), set an export path, set the texture size, and finally, press the Export All button.

The Power of Ray Tracing
In this last section, let’s look at the importance of Ray Tracing in Toolbag 4. Despite being a well-known algorithm, it’s now considered as a new add to this latest version.
To improve the quality of ray tracing, there’s also our GPU to consider. If you’re equipped with a supported NVIDIA video card, you can render even faster.
There’s also an option to apply real-time denoising. Marmoset declares that GPU denoising is hardware accelerated on all NVIDIA RTX devices. Otherwise, there’s always the solution to use your CPU for your render denoising.
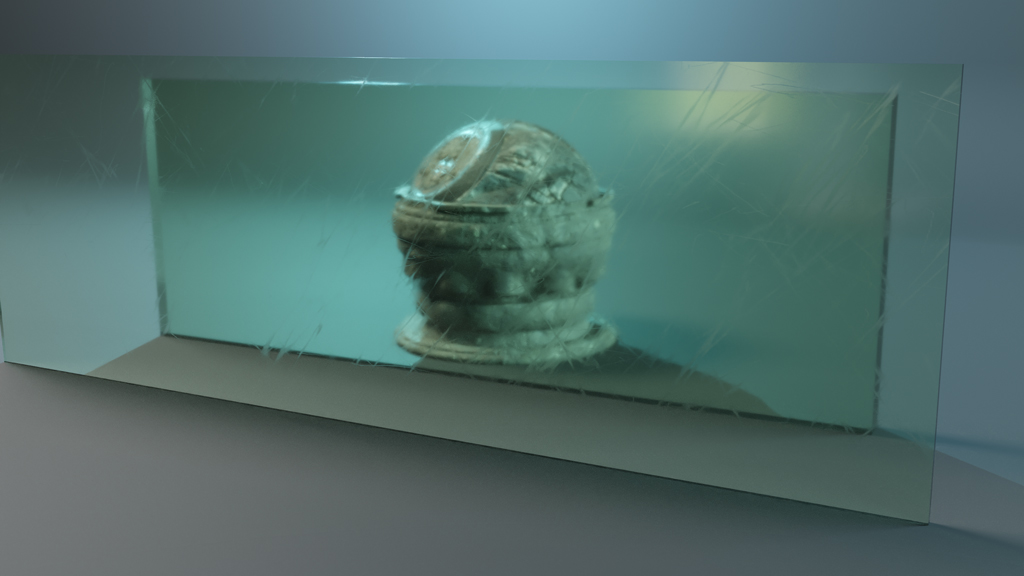
We’ll consider ray tracing calculated for refraction and, in the next examples, I’ll be using a preset material called glass.

Transmission Color and Transmission Light Bounces
A ray of light passing through a transparent object is affected by the transmission color. Some wavelengths are absorbed, while others pass through the surface. In the glass material, this is called Tint.
Furthermore, as the ray travels through thicker surfaces, it loses a bit of energy. (That’s the reason why a red glass appears dark red in thicker areas and light red in thinner ones.)

We can control the number of transmission light bounces from the Ray Tracing section. There’s a parameter called Transmission, which indicates the number of times a light ray is being transmitted through a surface before reaching the camera.
If we have two glasses and we set the Transmission to three, we can’t see the rays passing through the second glass. We need at least a value of four.
See the example below:
![]()
Light Absorption
In the glass material, we can set the absorption and the density.
Both the parameters work together. They’re related to the quantity of matter inside of the glass, and control how much light is absorbed as it travels through the object. High density means more absorption and scattering.
In the next example, we have a light green transmission color, medium values of density and absorption set up, and we incrementally increase the thickness of the nearer glass.
See how light gets absorbed as we make the nearer glass thicker. The transmitted color appears as dark green.

Scattering
In some cases, when we have a dense material, we can also see some scattering—light reflects in different directions and that gives a particular look at the surface.
Just have a quick glance at the glass—the green wavelength is scattered throughout the media.
Although subtle, this effect can be used for particular kinds of glass, but scattering is more suitable for liquids, where the matter causes light to be scattered internally (e.g. milk, honey, chocolate, etc.).


There are other parameters of the glass material you can play with, like anisotropy, which establishes the direction of the scattering effect.
Take some time to explore the materials with the power of ray tracing.
Ray tracing isn’t just for transmission, it manages multiple bounces for diffuse and specular reflections, as well. That gives accurate results in the global illumination, as well as in the shadows.
In general, the cool thing about ray tracing is the simplicity of using it inside of Toolbag 4.

- You tick the Use Ray Tracing option and the Allow Caustic Paths if you want to have caustics.
- Bounces parameter controls the number of indirect ray bounces to trace.
- Transmission parameter controls the number of transmission rays to trace.
- Radiance Clamp is useful to reduce noise due to fireflies (low values reduce noise but affect the lighting quality).
- Diffuse and Reflection intensity are multipliers for the indirect bounces. It’s better to keep them close to 1 in order to have physical results (for artistic purposes, you can try to increase their values).
- The Viewport section is responsible for the quality of the renders. It manages Samples and Rays per pixel.
- The Denoise section works either with CPU or GPU to reduce the general noise in the scene and has a slider to control the Denoise strength, as well.
Conclusions
We covered the most exciting features in this new version of Toolbag 4.
In addition to the new features, other improvements have been released, as well:
- A flexible and customizable user interface with many workspaces
- Faster baking process
- New light controllers and shortcuts to manage common light attributes with ease
- The possibility to change the pivot point of an object in real-time
- New selectiontools useful in the texturing process, as well
I invite you to visit the Marmoset Toolbag 4 page for more info.
Apart from modeling, this latest version is a valuable tool for texture and look-dev artists because it definitely improves the workflow we’re used to and it offers a complete environment to showcase your 3D models.
The good news is that it’s cheap, too! With around $300, you can have an individual perpetual license of Toolbag 4. And, for users who come from version 3, the price is even less (little more than $200).
I also invite you to have a look at some of my projects made with Toolbag 4.
Unleash your creativity by exploring this awesome solution!
A few more creative outlets for you:
- How to Create Appealing Cut Scenes in Unreal Engine
- 7 Must-Have Free Final Cut Pro Plugins for Every Editor
- Resources for Nurturing an Interest in 3D for Students of All Ages
- FREE Spinnable, Transparent 3D Florals: In the Garden with PixelSquid
- How to Use Substance Designer to Create Basic Networks
- Need 3D models for your projects? Check out Turbosquid’s 3D model collections.
Looking for 3D assets? TurboSquid by Shutterstock has over 1 million 3D models used by game developers, news agencies, architects, visual effects studios, advertisers, and creative professionals around the world.
Scene Setup – Learn Toolbag 4, Ep. 1
Welcome to a new series of tutorials for the much anticipated Marmoset Toolbag 4. In this episode, Hannah Watts walks us through how to set up a scene from scratch in Toolbag and highlights some brand new additions to the workflow.
Chapter Breakdown:
- 0:18 – Introduction, Importing, and Navigation
- 3:27 – Material Setup
- 5:20 – Setting up the Sky
- 6:53 – Adding Lights to the Scene
- 8:00 – Setting up the Camera
- 11:38 – Camera Post Effects
- 12:54 – Rendering
Marmoset Toolbag
Unified baking, texturing, and rendering tools make Toolbag the cornerstone of every 3D artist’s workflow.
RENDERING
Explore Toolbag’s powerful real-time raster and GPU-accelerated ray-traced rendering.
TEXTURING
Art by Marmoset
Create stunning, physically-accurate materials with Toolbag’s new Texture Project system.
BAKING
Speed up content creation with Toolbag’s industry-leading real-time baking tools.
SCENE EDITING
Art by Marmoset
Scene setup is made easy with Toolbag’s lightweight and user-friendly editor.
Real-World Accuracy
Real-time physically-based rendering and image-based lighting are the core of Toolbag’s superior image quality. Realistic or stylized, your artwork will shine bright.
Intuitive Design
Make yourself at home with Toolbag’s new customizable interface. Drag-n-drop functionality, workspaces, smart loaders, and dual monitor compatibility come together to provide a familiar 3D experience.
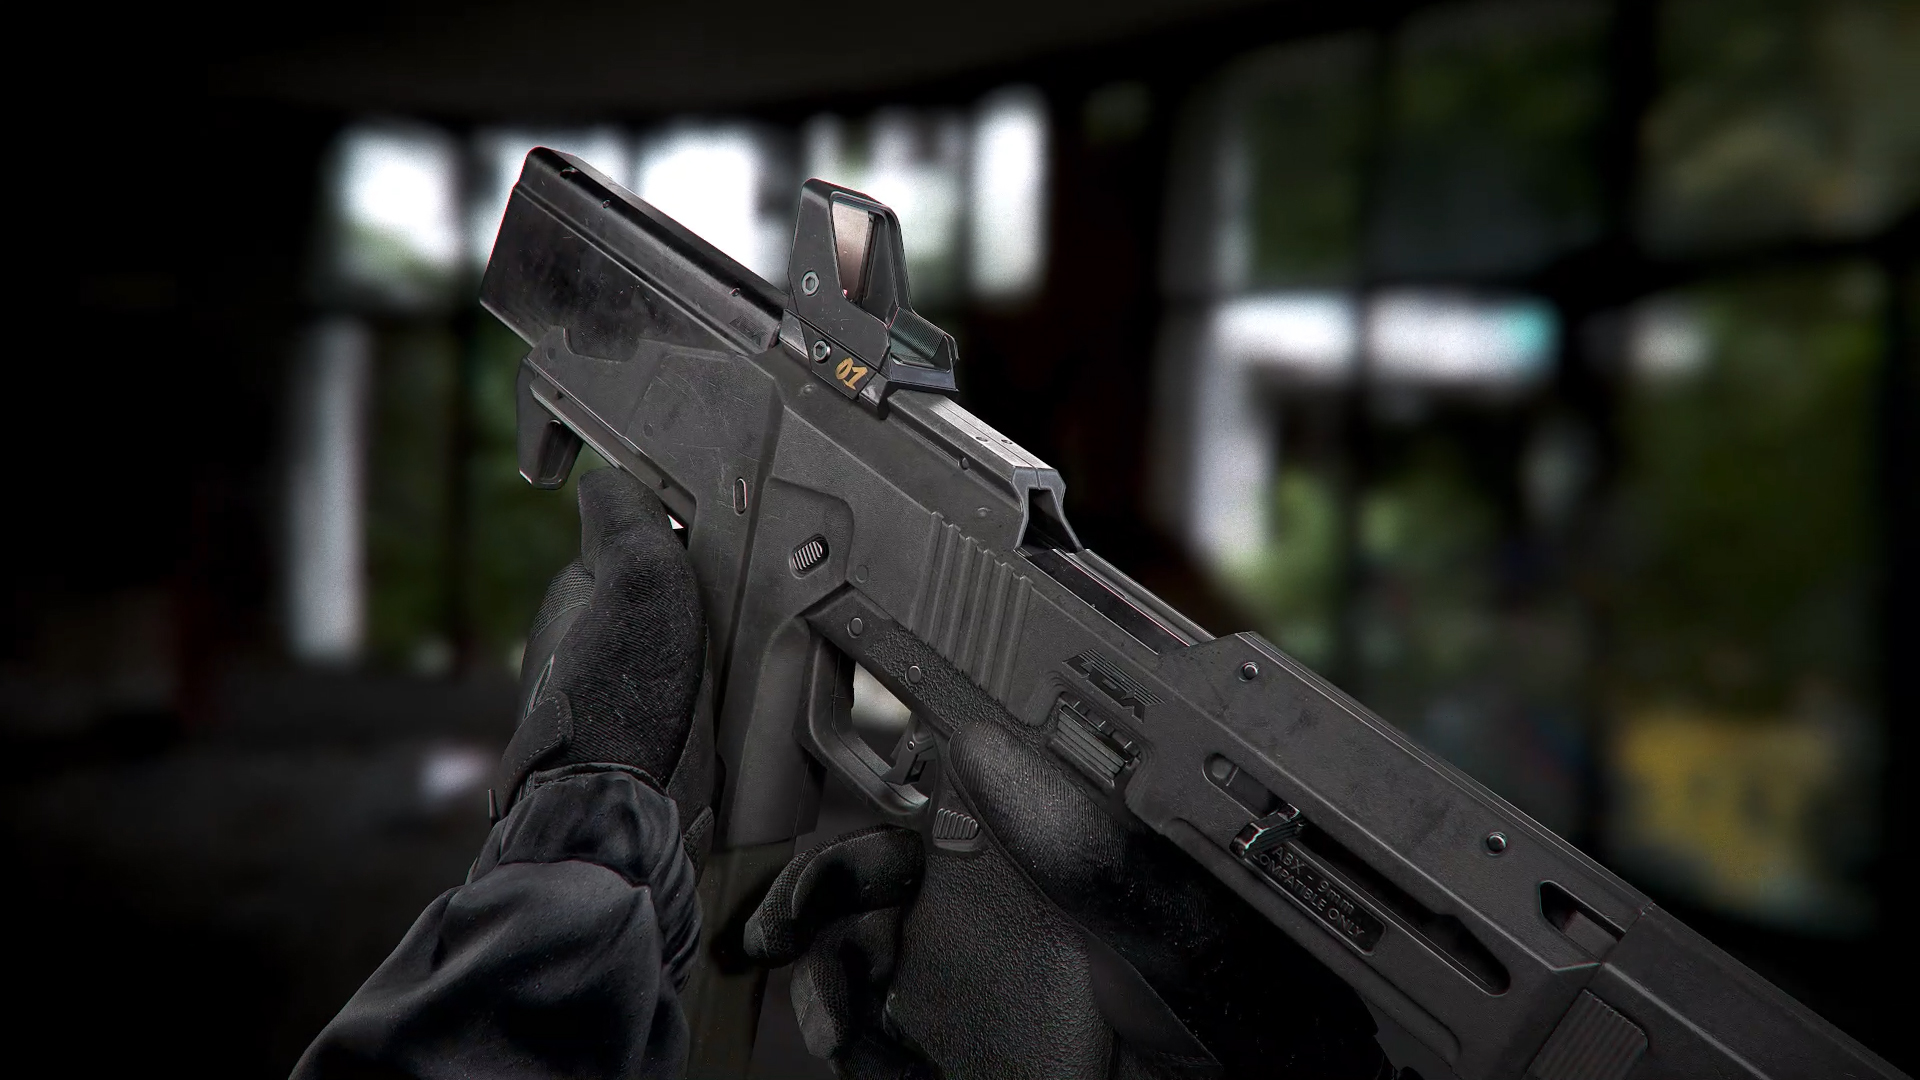
Create Portfolio Content
Capture stills of your latest character art, environment art, product designs, and more. Make use of Toolbag’s built-in Turntable tool, or set up your very own custom animation and camera sequence to proudly showcase your latest creation in motion.